A DIY kitchen island table is a growing trend for homeowners seeking a personalized and budget-friendly solution.
Building your own table allows you to customize its design, size, and functionality to fit your unique kitchen needs.

Not only will you save money, but you’ll also gain full control over the materials and style.
With a DIY project, you can create extra storage or workspaces while adding a touch of creativity to your kitchen.
Materials and Tools You’ll Need
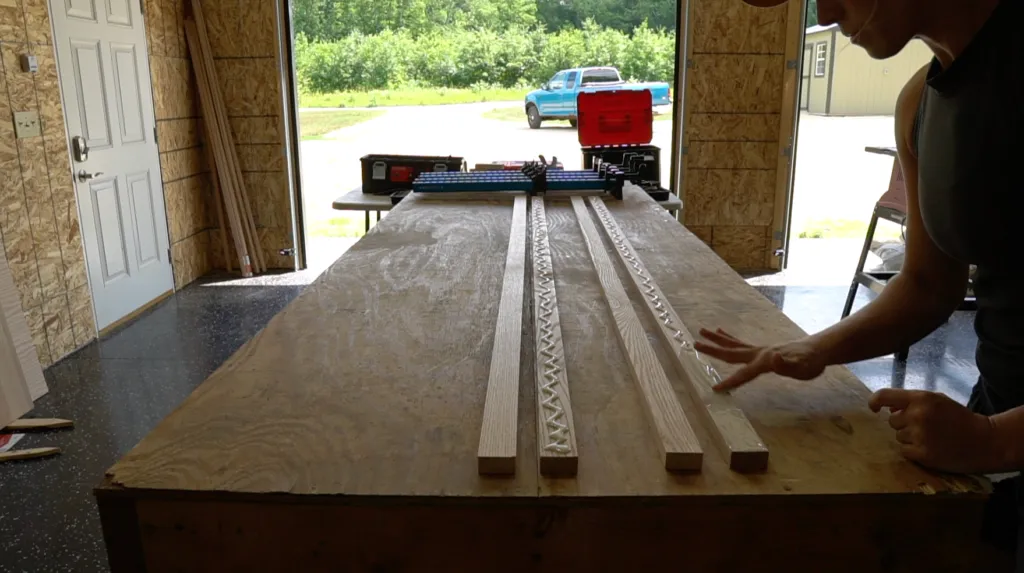
Building your own DIY kitchen island table requires a few key materials and tools. Here’s a list to get you started:
Materials:
- Base cabinets
- MDF for the frame and sides
- Butcher block for the countertop
- Trim for finishing
- Paint and wood filler
Tools:
- Saw (circular or miter)
- Drill and screws
- Clamps for holding pieces
- Paintbrushes for finishing
Budget Tips:
- Look for sales or scrap wood.
- Buy in bulk to save money.
DIY Steps
Step 1: Measure and Plan Your Space

Before you begin, measure your kitchen space carefully to determine the ideal size for your island.
Make sure to leave enough room for foot clearance and ensure the island complements your kitchen’s layout.
Step 2: Build the Base for the Island

Cut the 2x4s to create a strong, sturdy frame for the island base.
Secure the frame to the floor using L-brackets, and add support walls or extra reinforcements for added stability.
Step 3: Install the Cabinets

Arrange the cabinets on top of the base to ensure a snug fit.
Use screws to secure the cabinets to the wooden frame, and check that everything is level using shims if necessary.
Step 4: Attach the Countertop

Choose a countertop material like butcher block and secure it to the cabinets with screws.
Once installed, sand the surface for a smooth, polished finish.
Step 5: Add Trim and Decorative Details
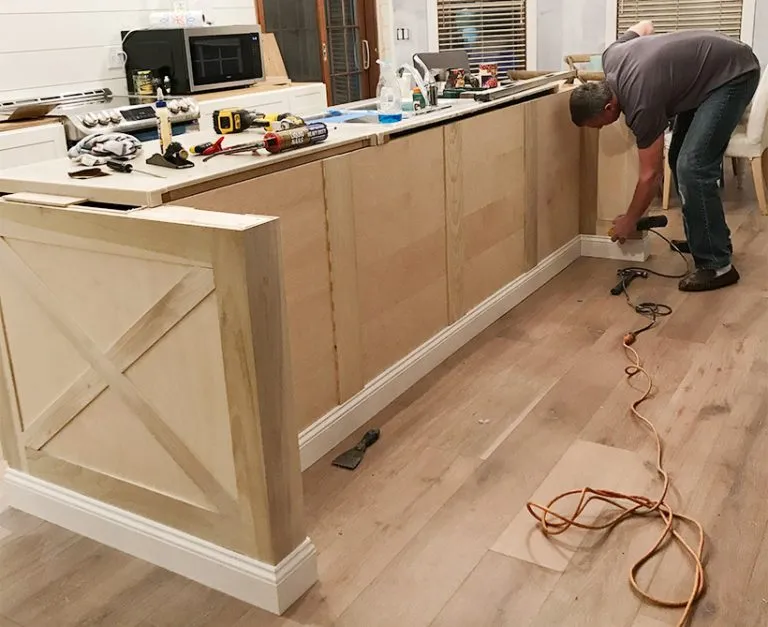
Attach MDF trim around the edges to cover seams and rough spots.
You can use baseboard molding or decorative trim to add a custom, finished look.
Step 6: Paint and Finish

Pick a paint color that complements your kitchen’s style and apply it in layers, allowing drying time between each.
Add finishing touches like drawer handles or cabinet legs for a polished look.
Step 7: Final Touches and Enjoy

Once the paint dries, add any final touches like drawer organizers or bar stools.
Make sure everything is secure and functional, then enjoy your new, custom kitchen island!
FAQs
1. How much does it cost to build a DIY kitchen island table?
The cost varies based on materials and size, but you can expect to spend anywhere between $200 and $600. By using budget-friendly materials like MDF and purchasing cabinets on sale, you can keep costs low.
2. Can I build a DIY kitchen island without professional help?
Absolutely! With basic tools and the right materials, most DIYers can successfully build a kitchen island. Just follow the steps carefully, and don’t rush the process.
3. What materials do I need for a DIY kitchen island table?
You’ll need base cabinets (like those from IKEA), MDF for trim and structure, butcher block or another countertop material, paint, and basic tools like a saw, drill, and screws.
4. How do I ensure the island is stable?
To ensure stability, attach the base to the floor using L-brackets, and reinforce with additional 2x4s or support walls. Make sure everything is securely fastened before adding weight to the island.
5. Can I customize the design of my kitchen island?
Yes! You can customize the design by choosing different countertops, paint colors, or decorative trim. The flexibility of a DIY project allows you to create a piece that suits your kitchen perfectly.
Conclusion

Building your own DIY kitchen island table can be a rewarding and cost-effective project.
With careful planning and the right materials, you can create a custom piece that enhances your kitchen’s functionality and style.
Gather your materials, follow the steps, and enjoy your new, functional kitchen island. Happy building!







 English
  Italian
  French
  German
  Spanish
  Portuguese
  Japanese
  Korean
  Russian
  Arabic
  Thai
Thai  Chinese