Transforming your kitchen by staining cabinets darker is a rewarding project. Here’s a step-by-step guide to help you achieve the perfect finish.
Gather Your Materials
Ensure you have:
- Wood stain (your chosen darker shade)
- Medium and fine-grit sandpaper
- Tack cloth
- Paintbrushes or staining pads
- Gloves
- Drop cloths or old newspapers
- Screwdriver
Preparation
- Remove Cabinet Doors and Hardware: Use a screwdriver to take off the cabinet doors and hardware. This makes staining easier and prevents damage.
- Clean the Surfaces: Wipe down the cabinet surfaces with a damp cloth to remove dirt and grease. Let them dry completely.
Sanding the Cabinets
- Sand the Surfaces: Use medium-grit sandpaper to sand the cabinets. This removes the old finish and prepares the wood for staining.
- Smooth the Surface: Switch to fine-grit sandpaper to smooth the surface. Always sand in the direction of the wood grain.
- Clean Up: Wipe the sanded surfaces with a tack cloth to remove all dust.
Applying the Stain
- Test the Stain: Before staining the entire cabinet, test the stain on a small, hidden area to ensure you’re happy with the color.
- Apply the Stain: Use a paintbrush or staining pad to apply the stain in even strokes, following the wood grain. Allow it to sit for the recommended time to achieve the desired darkness.
- Wipe-Off Excess Stain: Use a clean cloth to wipe off any excess stain for an even finish.
Finishing Touches
- Allow to Dry: Let the stained cabinets dry completely as per the stain’s instructions.
- Apply a Second Coat: If a darker finish is desired, apply a second coat, following the same steps.
- Seal the Cabinets: Once you’re satisfied with the color, apply a clear polyurethane sealant to protect the wood and give it a glossy finish.
Reassemble the Cabinets
- Reattach Hardware: Once the sealant is dry, reattach the hardware and hang the cabinet doors back in place.
- Final Touches: Ensure everything is securely fastened and touch up any areas if needed.
Tips for Success
- Work in a Well-Ventilated Area: Ensure good ventilation to avoid inhaling fumes.
- Use Drop Cloths: Protect your floors and countertops with drop cloths or old newspapers.
- Wear Gloves: Protect your hands, as stains can be hard to remove.
Conclusion
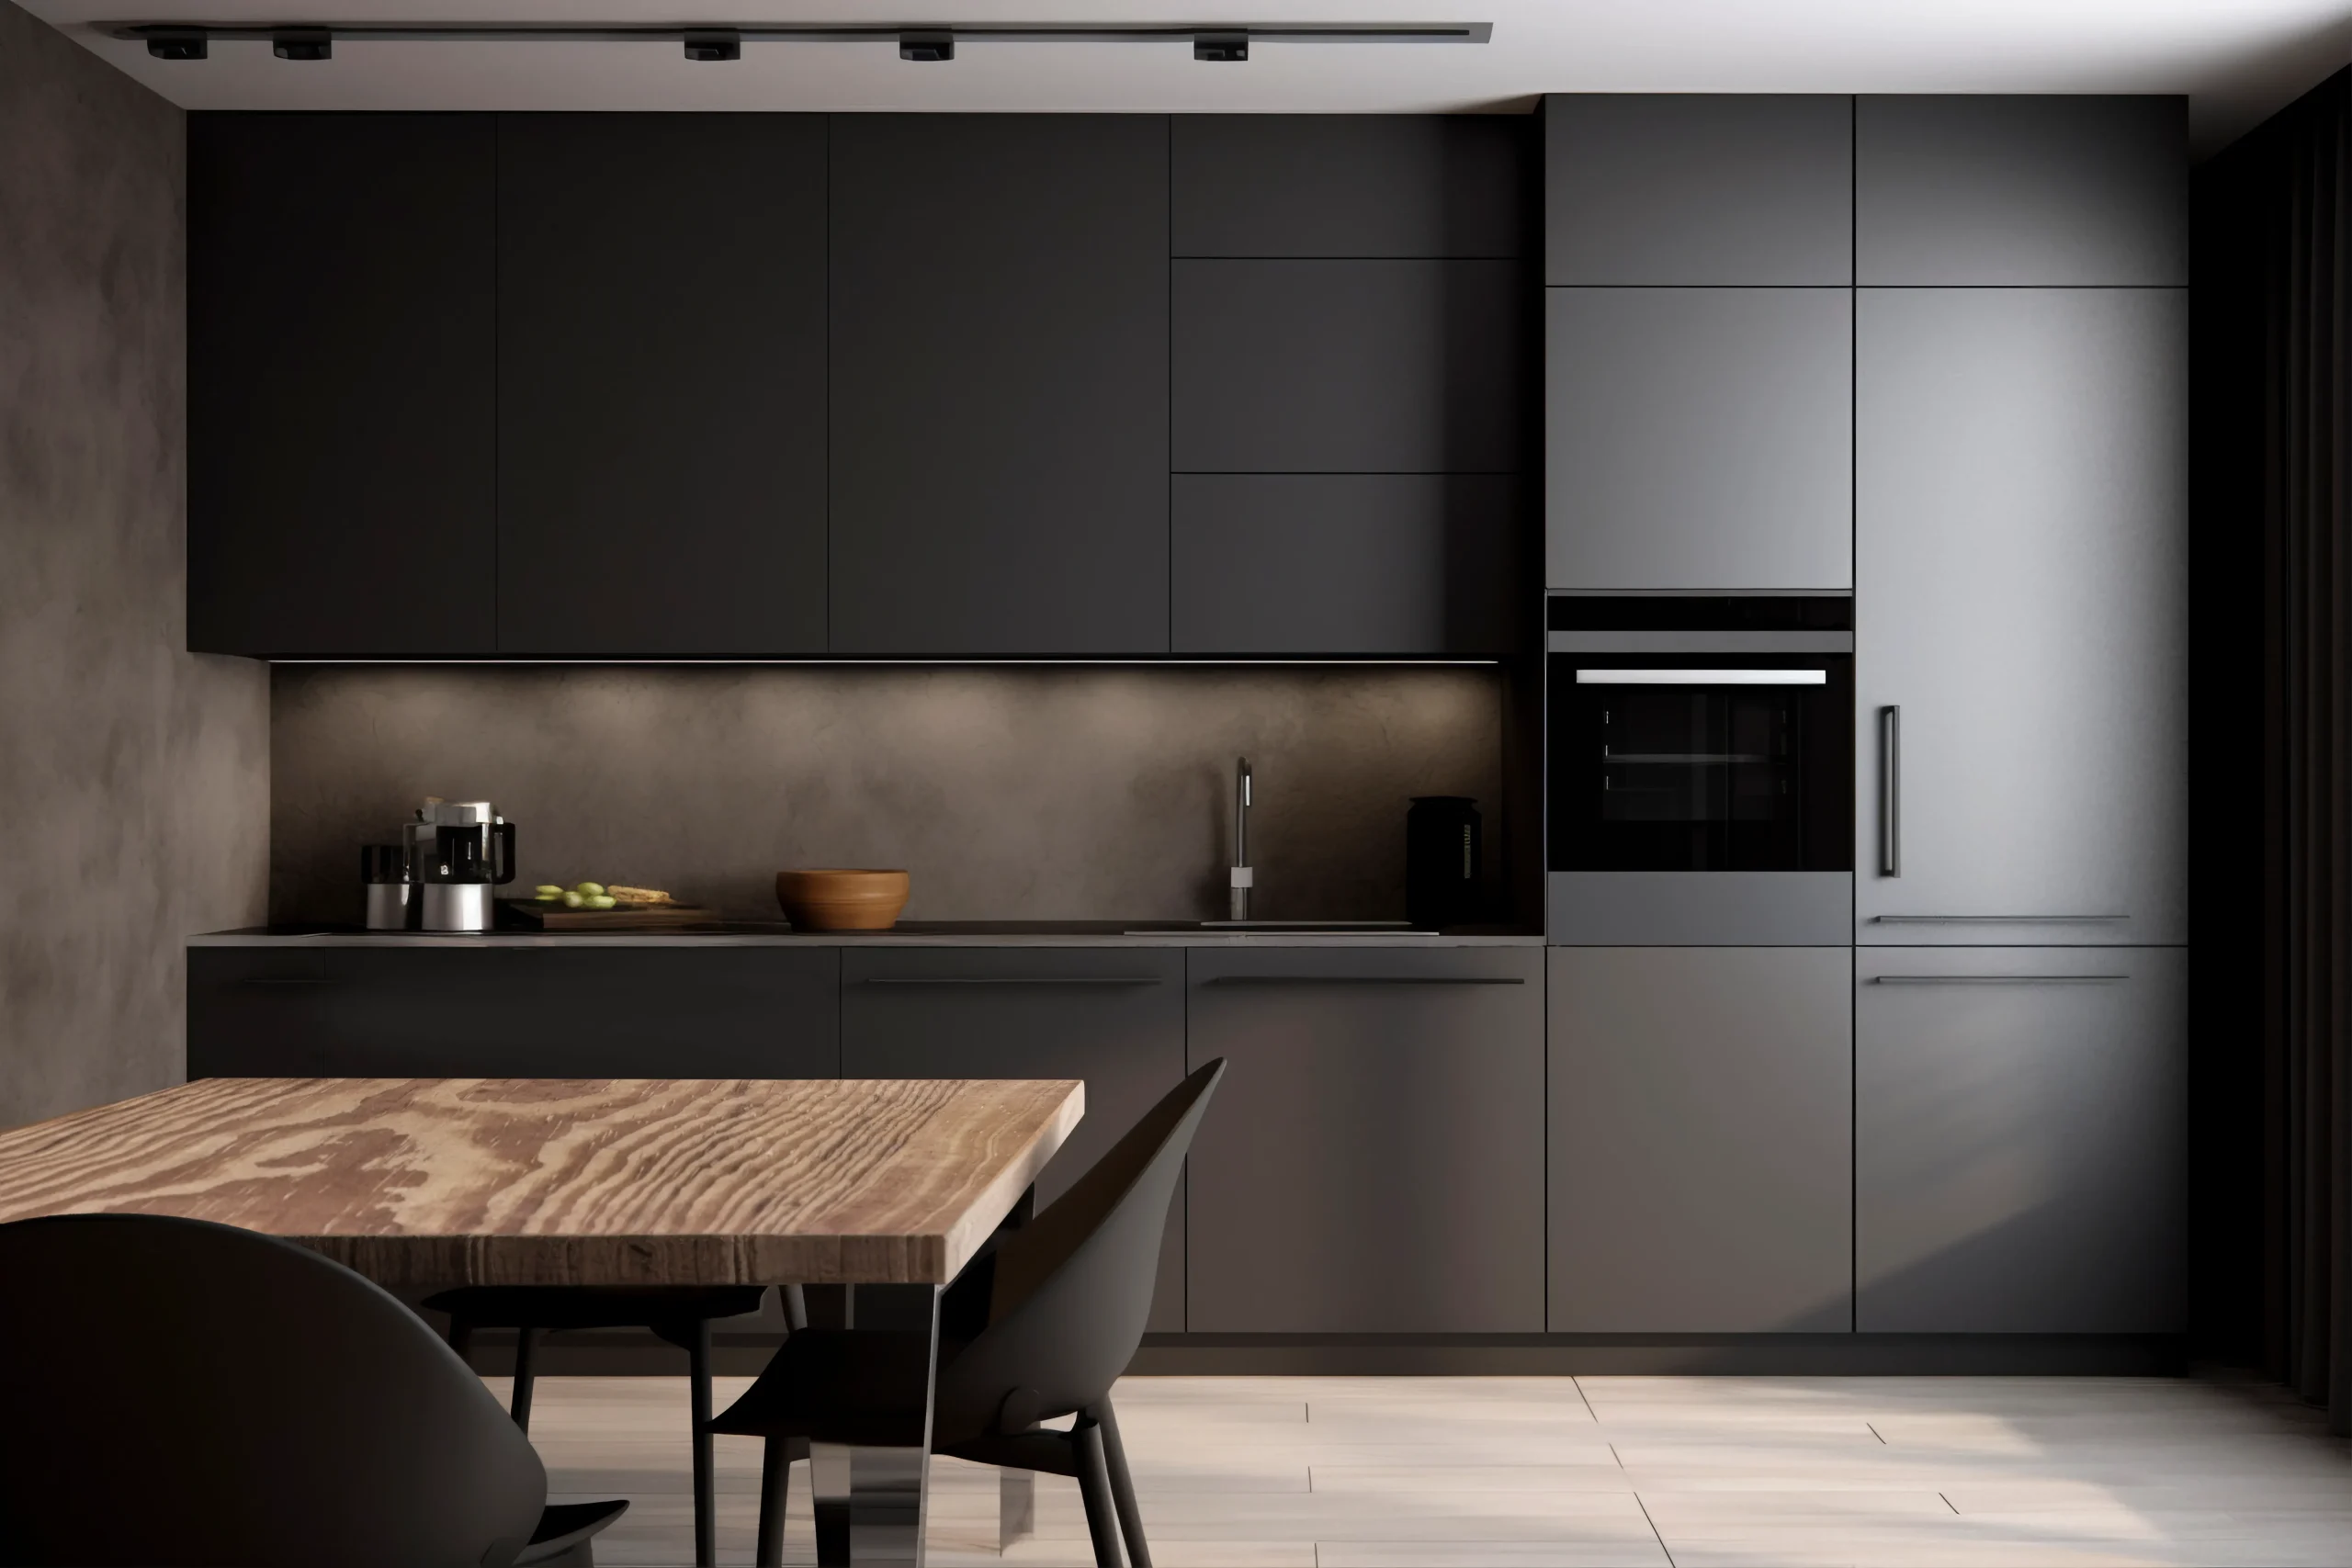
By following these steps, you can successfully stain your kitchen cabinets darker, giving your kitchen a stylish, updated look.
FAQs
1. Can Kitchen Cabinets Be Stained Darker?
Yes, kitchen cabinets can be stained darker. Staining cabinets a darker color can refresh their appearance and give your kitchen a new look. The process involves cleaning the cabinets, lightly sanding the surface, applying a wood conditioner, and then applying the darker stain.
2. How Can I Make My Cabinets Darker Without Sanding?
You can make your cabinets darker without sanding by using a deglosser or liquid sandpaper to remove the finish. After cleaning the cabinets thoroughly, apply a gel stain or a darker paint designed for the cabinets. This method saves time and effort while achieving a darker finish.
3. Can You Stain Wood Darker Without Sanding?
Yes, you can stain wood darker without sanding by using a gel stain or applying a darker wood stain over the existing finish. Cleaning the surface well and using a deglosser to remove any sheen will help the new stain adhere better.
4. Is It Better to Stain or Paint Kitchen Cabinets?
Deciding whether to stain or paint kitchen cabinets depends on the look you want and the condition of your cabinets. Staining enhances the natural grain and gives a traditional look, while painting offers a wider range of color options and provides a smooth, modern finish.
5. How to Darken Stains on Older Cabinets?
To darken stains on older cabinets, start by cleaning the cabinets thoroughly. Use a gel stain or a darker wood stain and apply it over the existing finish. For best results, consider using a deglosser to prep the surface and ensure the new stain adheres well.








 English
  Italian
  French
  German
  Spanish
  Portuguese
  Japanese
  Korean
  Russian
  Arabic
  Thai
Thai  Chinese