It’s a popular upgrade for those looking to add extra storage, minimize dust-collecting gaps, and create a more polished, built-in look.
Whether you’re refreshing builder-grade cabinets or simply tired of wasted space, this simple project delivers a big visual payoff.
Step-by-Step Installation Guide
Ready to give your kitchen that polished, built-in look? Here’s a simple breakdown of how to extend your cabinets to the ceiling like a pro—without needing a contractor.
Step 1: Build Extension Boxes
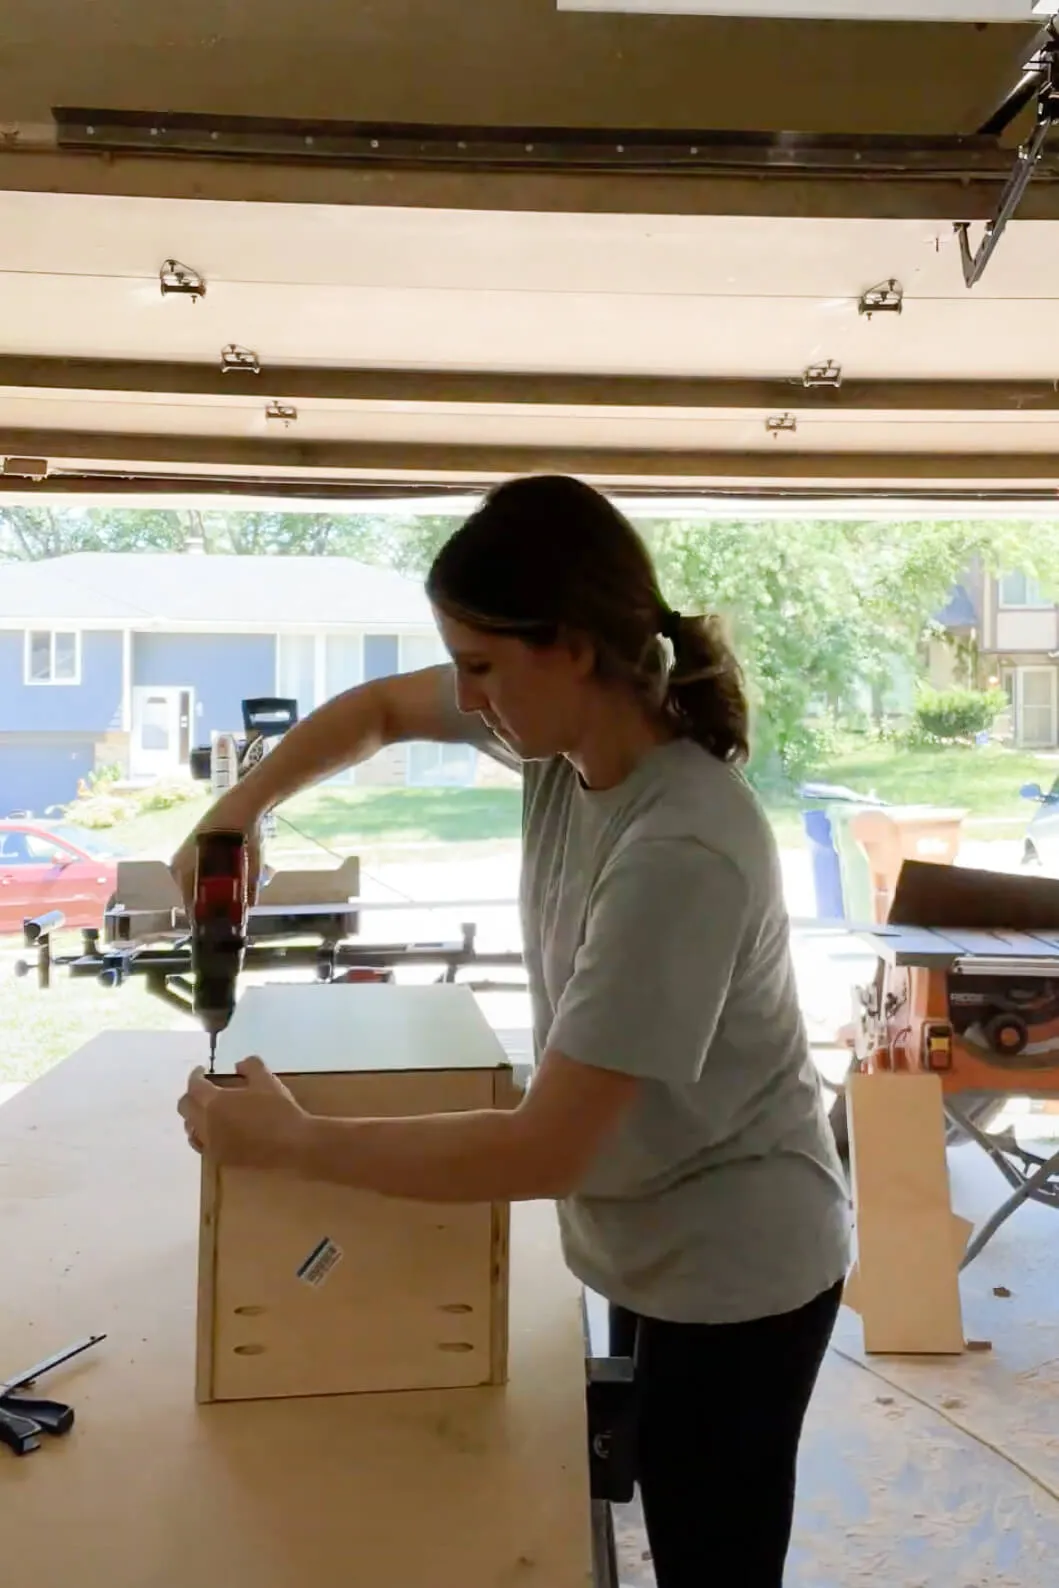
Start by creating basic plywood boxes or using pre-primed boards and face frames if you prefer a lighter build.
Use wood glue and screws to assemble your boxes—pocket holes are optional and great for added strength. If the bottoms of the boxes won’t be visible, feel free to skip them to save time and materials.
Step 2: Secure Boxes on Cabinets

First, remove any old crown molding from the top of your cabinets. Then install 2×2 or 2×4 wood blocks on top of the existing cabinets for extra support.
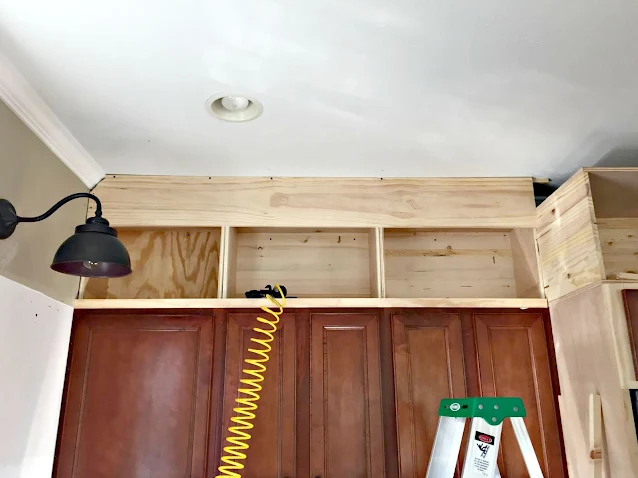
Carefully screw the new boxes into wall studs and secure them to each other to ensure everything stays aligned and sturdy.
Step 3: Add Trim and Crown Molding
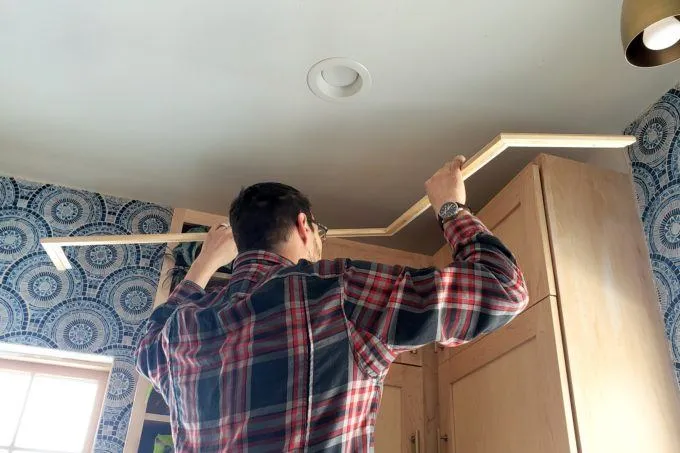
Next, install vertical and horizontal trim on the front of your new boxes to match the style of your existing cabinets. Add crown molding to the top—this not only hides small gaps but also gives the extension a high-end finish.
Want a modern look? Use flat trim. For a more traditional vibe, go for layered crown molding.
Step 4: Add Cabinet Doors
If you want to turn those boxes into functional cabinets, add doors that match your existing style.
Glass-front doors can create a chic display, or you can keep them open for easy access. Don’t forget to install soft-close hinges to add that smooth, luxurious touch.
Step 5: Fill, Sand, and Paint

Wrap things up by filling nail holes and seams with wood filler and sanding until smooth.
Apply a coat of primer, then paint everything to match your existing cabinetry. Once dry, step back and admire your refreshed, custom-looking kitchen.
FAQs
1. Can I extend cabinets to the ceiling without removing existing ones?
Yes! You can build and install extension boxes directly on top of your current cabinets.
2. What’s the best material for extension boxes?
Use ½” or ¾” plywood, MDF, or pre-primed boards to match your cabinet finish.
3. Do I need to add doors to the new upper cabinets?
Nope—open shelving or faux fronts are great alternatives if you don’t need extra storage.
4. Will this work in a small kitchen?
Absolutely. Extending cabinets makes ceilings appear higher and creates a cleaner look in any size kitchen.
5. Is crown molding necessary?
While optional, crown molding helps hide gaps and gives the project a more polished, built-in feel.
Conclusion
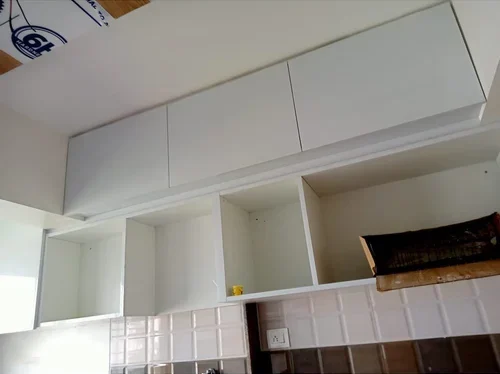
Extending your kitchen cabinets to the ceiling is a smart way to add style, storage, and a custom feel without a major renovation. With a bit of planning and DIY effort, you can transform a builder-grade kitchen into a more seamless and polished space.
Ready to elevate your kitchen? Grab your tools, sketch your vision, and start building. Whether you’re going for extra storage or just a clean, designer look, this project is totally worth the effort.






 English
  Italian
  French
  German
  Spanish
  Portuguese
  Japanese
  Korean
  Russian
  Arabic
  Thai
Thai  Chinese